Chọn loại project là Web Application (Model - View - Controller) -> Create.

Install packages:
- Elasticsearch.Net
- NEST

Tạo class ElasticSearchFactory để tạo client connector đến ElasticSearch
 namespace ElasticSearchClient
 {
   public class ElasticSearchFactory
   {
     public ElasticClient ElasticSearchClient()
     {
       var nodes = new Uri[]
       {
         new Uri("http://localhost:9200/"),
       };
       var connectionPool = new StaticConnectionPool(nodes);
       var connectionSettings = new ConnectionSettings(connectionPool).DisableDirectStreaming();
       var elasticClient = new ElasticClient(connectionSettings);
       return elasticClient;
     }
   }
 }
Add new MVC controller with read/write actions, đặt tên là CatalogController.

Trong thư mục Models, tạo class Catalog.cs
 namespace ElasticSearchClient.Models
 {
   public class Catalog
   {
     public string Id { get; set; }
     [Required]
     public string Name { get; set; }
     public string Description { get; set; }
   }
 }
Trong CatalogController, khai báo ElasticSearchFactory
   public class CatalogController : Controller
   {
     private readonly ElasticSearchFactory _esFactory;
     public CatalogController()
     {
       _esFactory = new ElasticSearchFactory();
     }
Viết đoạn code đoạn truy vấn đơn giản đến ElasticSearch trong action Index.
     // GET: Catalog
     public async Task<ActionResult> Index()
     {
       return View(await DoSearchAsync());
     }
     private async Task<List<Catalog>> DoSearchAsync(string name = "")
     {
       var response = await (_esFactory.ElasticSearchClient().SearchAsync<Catalog>(s => s
                   .Index("catalogs")
                   .Size(50)
                   .Query(q => q
                     .Match(m => m
                       .Field(f => f.Name)
                       .Query(name)
                     )
                   )
                 ));
       return response.Hits.Select(s => s.Source).ToList();
     }
Tiến hành Add New View cho action Index như hình bên dưới, với:
- Template: List
- Model class: Catalog (tạo ở bước trước)

Kết quả view Index được tạo ra như hình bên dưới

Nhấn F5 để chạy chương trình, sau đó đi đến trang Catalog theo đường dẫn https://localhost:[your-port]/Catalog để xem kết quả.
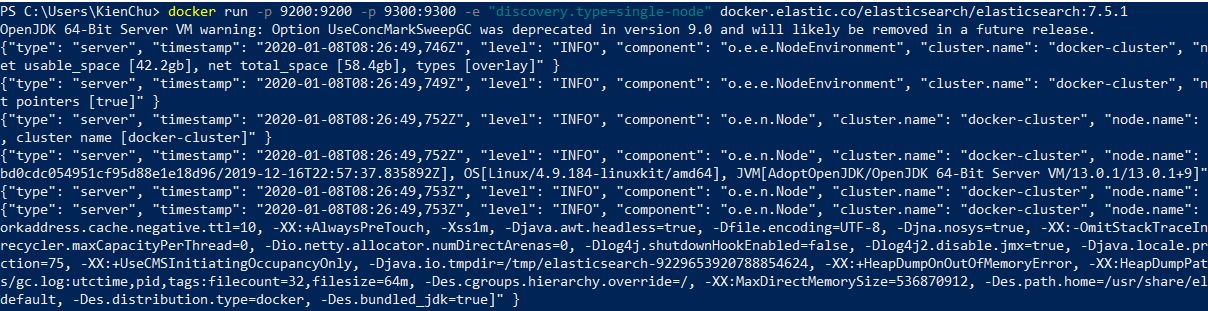
Chú ý: ElasticSearch phải đang được chạy trước khi run F5. Nếu không sẽ bị báo lỗi ko có kết nối. Xem lại bài trước Cài đặt ElasticSearch với Docker để biết thêm chi tiết.
Viết code để tiến hành thêm mới dữ liệu vào ElasticSearch
     // GET: Catalog/Create
     public ActionResult Create()
     {
       return View();
     }
     // POST: Catalog/Create
     [HttpPost]
     [ValidateAntiForgeryToken]
     public ActionResult Create(Catalog catalog)
     {
       if (ModelState.IsValid)
       {
         try
         {
           catalog.Id = Guid.NewGuid().ToString();
           var response = _esFactory.ElasticSearchClient().Index<Catalog>(catalog, i => i
                       .Index("catalogs")
                       .Id(catalog.Id)
                       .Refresh(Elasticsearch.Net.Refresh.True));
           return RedirectToAction(nameof(Index));
         }
         catch
         {
           return View(catalog);
         }
       }
       return View(catalog);
     }
Tiến hành Add View cho action Create với
- Template: Create
- Model class: Catalog.

View Create.cshtml được sinh ra như hình

Run F5 và thử Create New


Viết code tương tự cho Edit action
     // GET: Catalog/Edit/5
     public async Task<ActionResult> Edit(string id)
     {
       return View(await GetByIdAsync(id));
     }
     private async Task<Catalog> GetByIdAsync(string id)
     {
       return (await _esFactory.ElasticSearchClient().GetAsync<Catalog>(id, i =>
               i.Index("catalogs"))).Source;
     }
     // POST: Catalog/Edit/5
     [HttpPost]
     [ValidateAntiForgeryToken]
     public async Task<ActionResult> Edit(int id, Catalog catalog)
     {
       if (ModelState.IsValid)
       {
         try
         {
           var response = await _esFactory.ElasticSearchClient().UpdateAsync<Catalog>(catalog, i => i
                       .Index("catalogs")
                       .Refresh(Elasticsearch.Net.Refresh.True));
           return RedirectToAction(nameof(Index));
         }
         catch
         {
           return View(catalog);
         }
       }
       return View(catalog);
     }
Viết code tương tự cho Delete action
     // GET: Catalog/Delete/5
     public async Task<ActionResult> Delete(string id)
     {
       return View(await GetByIdAsync(id));
     }
     // POST: Catalog/Delete/5
     [HttpPost]
     [ValidateAntiForgeryToken]
     public async Task<ActionResult> Delete(string id, Catalog catalog)
     {
       try
       {
         var response = await _esFactory.ElasticSearchClient().DeleteAsync<Catalog>(id, i => i
                 .Index("catalogs")
                 .Refresh(Elasticsearch.Net.Refresh.True));
         return RedirectToAction(nameof(Index));
       }
       catch
       {
         return View(catalog);
       }
     }
Như vậy là chúng ta vừa hoàn tất viết một CRUD đơn giản sử dụng ASP.NET MVC kết nối đến ElasticSearch chạy trong môi trường Docker.
Source code: https://github.com/chkien0911/blog_examples/tree/master/ElasticSearchClient
Bài tiếp theo chúng ta sẽ thực hiện query đến ElasticSearch.